Before you submit a technical support ticket, you can run a Diagnostic for faster service:
1) Install AltairCapture from www.altairastro.help/downloads
2) Connect camera with USB cord directly to your computer. Please do not use any USB hub or 3rd party power supply to run the diagnostic. It’s better to use 1.8m USB3.0 provided or 3m USB2.0 cable. If the USB cable is longer, or the incorrect power voltages are used, the diagnostic process may be affected.
3) Click on Camera name top left-hand side of screen to activate it:
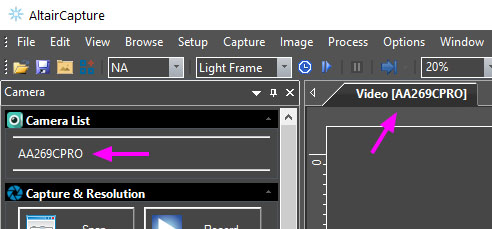
Support – Activate Camera Video Preview
4) If camera is a Hypercam TEC model, then follow steps 5 onwards, if Fan-Cooled Hypercam or GPCAM, then go to step 8.
5) TEC Cameras: Connect 12v Altair power supply to TEC 12v port:
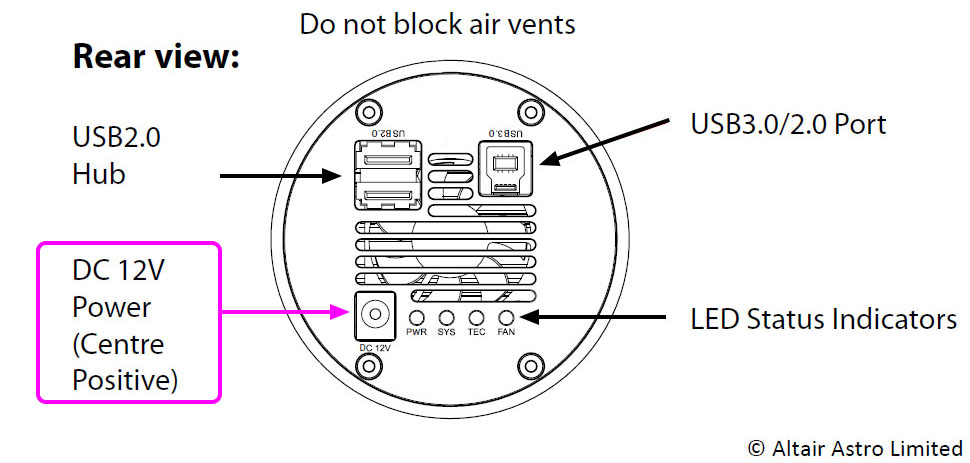
TEC Camera Rear View 12v Power Socket
6) Switch on TEC Cooling in AltairCapture and set target to 0C. The camera cooling Fan should start running:

Support – How to Enable TEC Cooling
7) Check temperature readout on righthand lower screen corner – it should decrease gradually to approx. 0C:
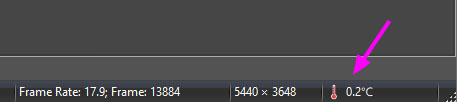
Check sensor temperature in AltairCapture
8) Go to About > Diagnose, click “Copy”. Now you can paste the text information (Control + V Keys) into a new Windows Notepad .TXT file and attach that to the support ticket, or just paste the text directly into the support ticket. Important: Please be sure to include your order number and a brief fault description in the new support ticket:

